


PythonのWebアプリをStreamlitで開発して、Streamlit sharingを使って公開する方法を紹介致します。
Githubアカウントがあれば、公開まで最速でできるので、ちょっとした簡易アプリを共有するのにおすすめです。
1.Streamlit cloud(streamlit sharing) とは?
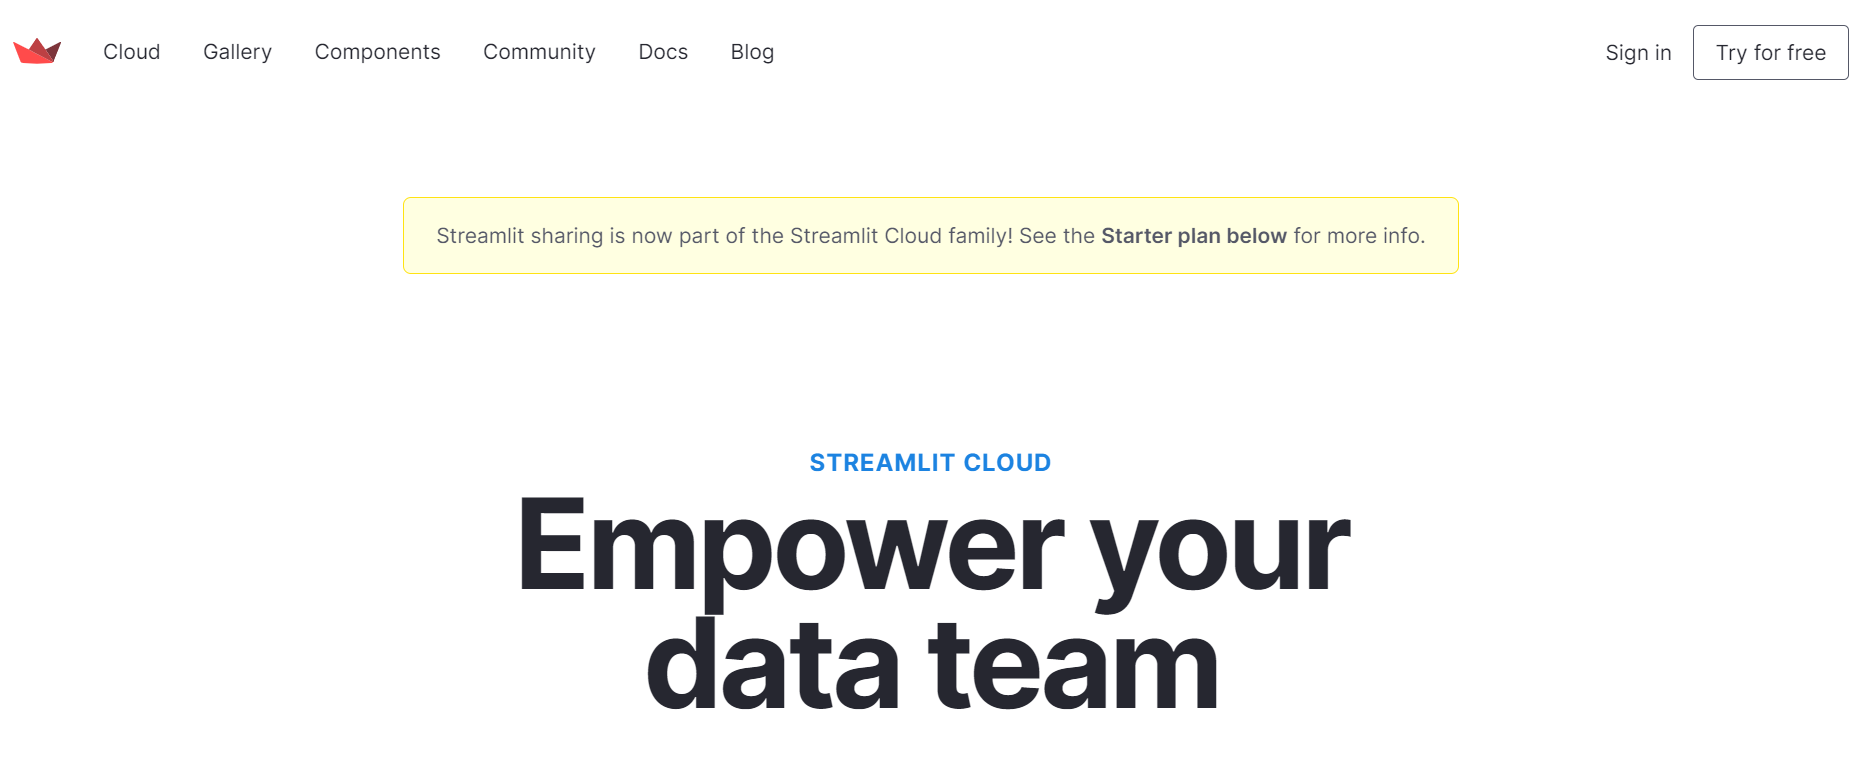
Streamlit sharingは、streamlitフレームワークを用いて、PythonのWebアプリを簡単に最速で公開できるサービスです。
「Sign in」からアカウントを作成します。
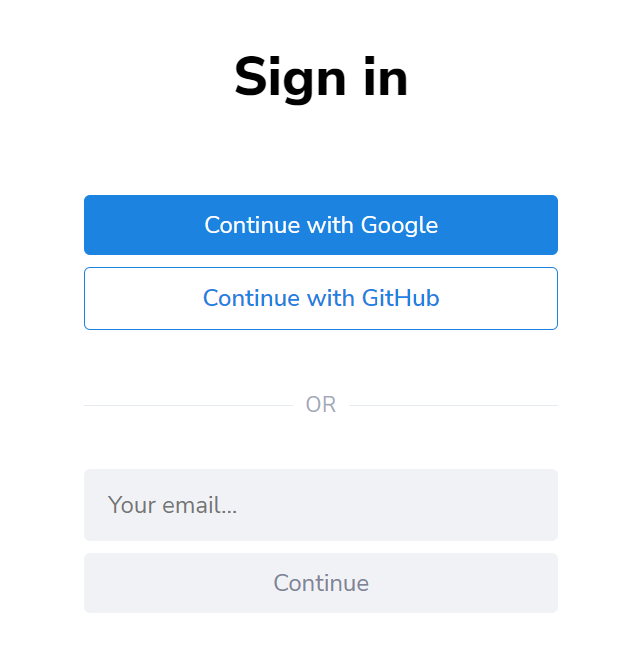
Githubアカウントを使って作成していきます。
アカウント作成が完了して、streamlitにログインすると以下のような画面が表示されます。
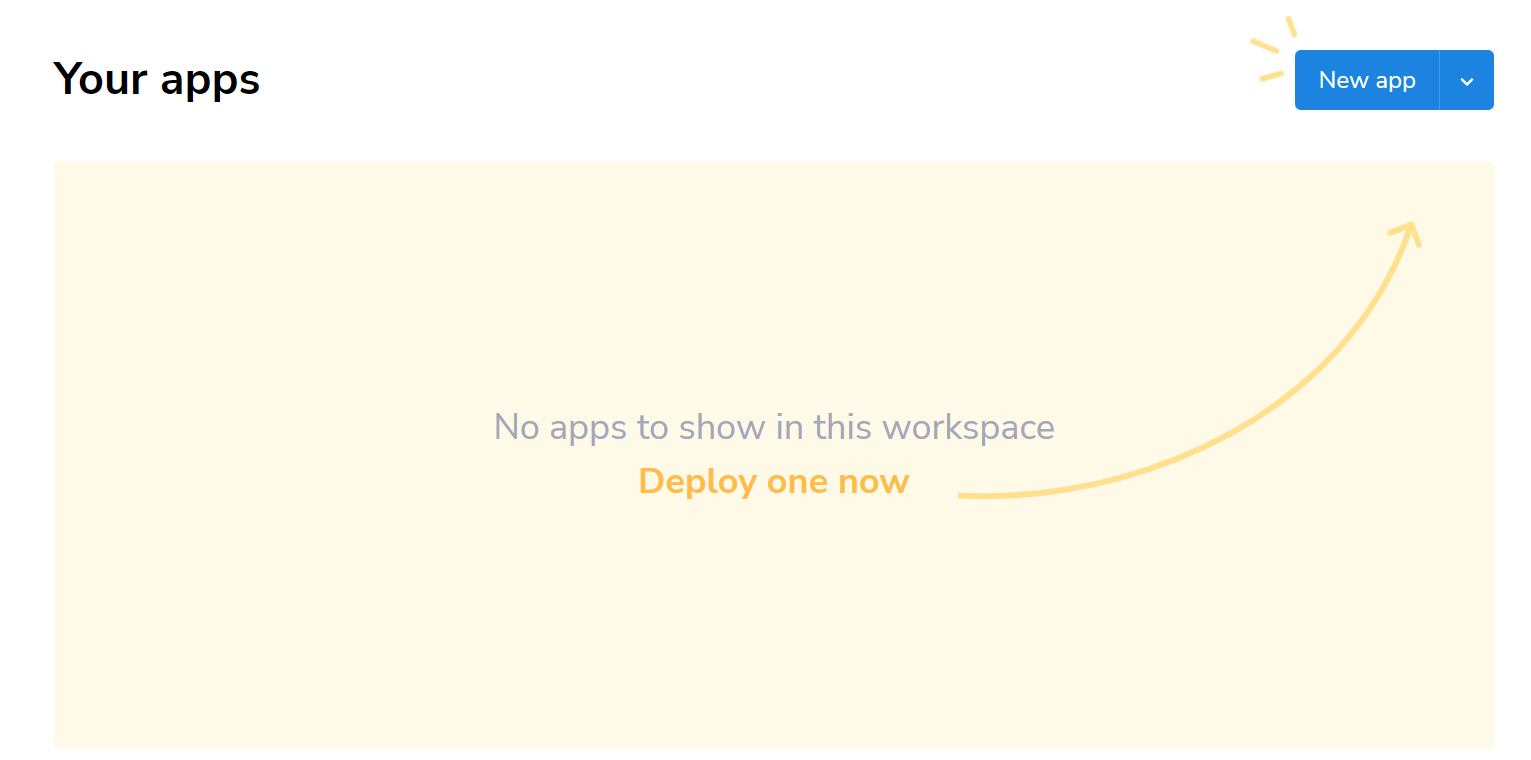
「New app」からすぐにアプリをデプロイできる状態になります。
2.streamlit sharingへの公開手順
以下のような順番で公開する準備を進めていきます。
↓
2.make Github repository
↓
3.push project files to Github
↓
4.streamlit sharing(deploy)
login with Github account
select github repository
app.py(起動させたいファイル)
3.streamlitを使ったサンプルファイルの作成
streamlit sharingに公開するサンプルアプリを用意します。
今回用意したサンプルは、複数のファイル(ページ)を用意して、streamlitで表示させるというものになります。
1つファイル(main.py)に、全てまとめようとするとコードが長くなってしまうため、こちらのフォルダ構成は、別のプロジェクトでも役立つかと思います。
streamlitの使い方については、以下の記事で紹介しています。

フォルダ構成
├─ app.py
├─ multiapp.py
├─ requirements.txt
├─ apps
      │─ data_stats.py
      │─ home.py
app.py
import streamlit as st
from multiapp import MultiApp
from apps import home, data_stats

app = MultiApp()

app.add_app("Home", home.app)
app.add_app("Data Stats", data_stats.app)

app.run()
multiapp.py
import streamlit as st

class MultiApp:
    def __init__(self):
        self.apps = []

    def add_app(self, title, func):
        self.apps.append({
            "title": title,
            "function": func
        })

    def run(self):
        app = st.sidebar.radio(
            'Go To',
            self.apps,
            format_func=lambda app: app['title'])
        app['function']()
apps/home.py
import streamlit as st
import pandas as pd
import numpy as np

def app():
    st.title('Home')
    st.write("This is a sample home page in the mutliapp.")
    st.write("See `apps/home.py` to know how to use it.")
    st.markdown("### Sample Data")
    st.write('Navigate to `Data Stats` page to visualize the data')
apps/data_stats.py
import streamlit as st
import numpy as np
import pandas as pd

def app():
    st.title('Data Stats')
    st.write("This is a sample data stats in the mutliapp.")
    st.write("See `apps/data_stats.py` to know how to use it.")
    st.markdown("### Plot Data")
    df = pd.DataFrame(
        np.random.rand(20,3),
        columns=['a','b','c']
    )

    st.line_chart(df)
requirements.txt
requirements.txtにはPython標準モジュールを入れるとエラーになるため、pipコマンドでインストールが必要なパッケージのみを記載してください。
requirements.txtにバージョンを記載しない場合、最新のバージョンがインストールされるようになります。
ファイルには以下のように記載します。(バージョン指定無しの場合)
streamlit
numpy
pandas
※今回のような簡易なアプリでは、requirements.txtなしでもstreamlit sharingにデプロイして動かすことができました。
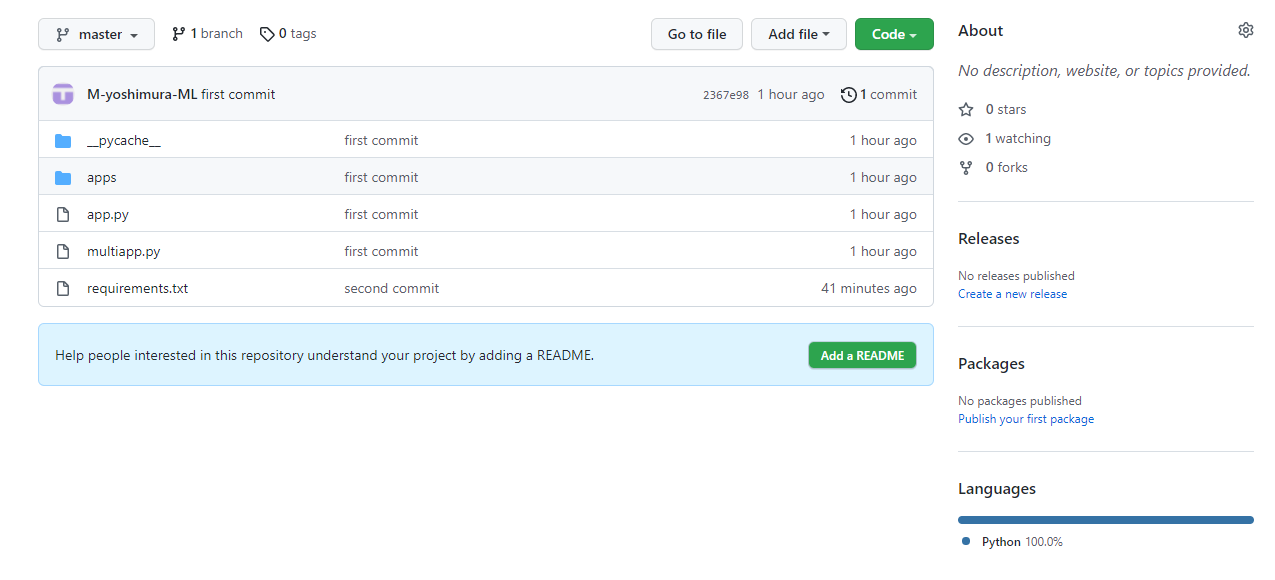
4.Github repositoryの作成
repositoryはpublicで作成する必要があります。
以下のコマンドでGithubに作成したコードをアップします。
git init
git add .
git commit -m "first commit"
git remote add origin https://github.com/[your repository name]
git push origin master
Githubの使い方については、以下の記事で紹介しています。

5.streamlit sharingへ公開
streamlit sharingを開き、Githubアカウントへログインします。
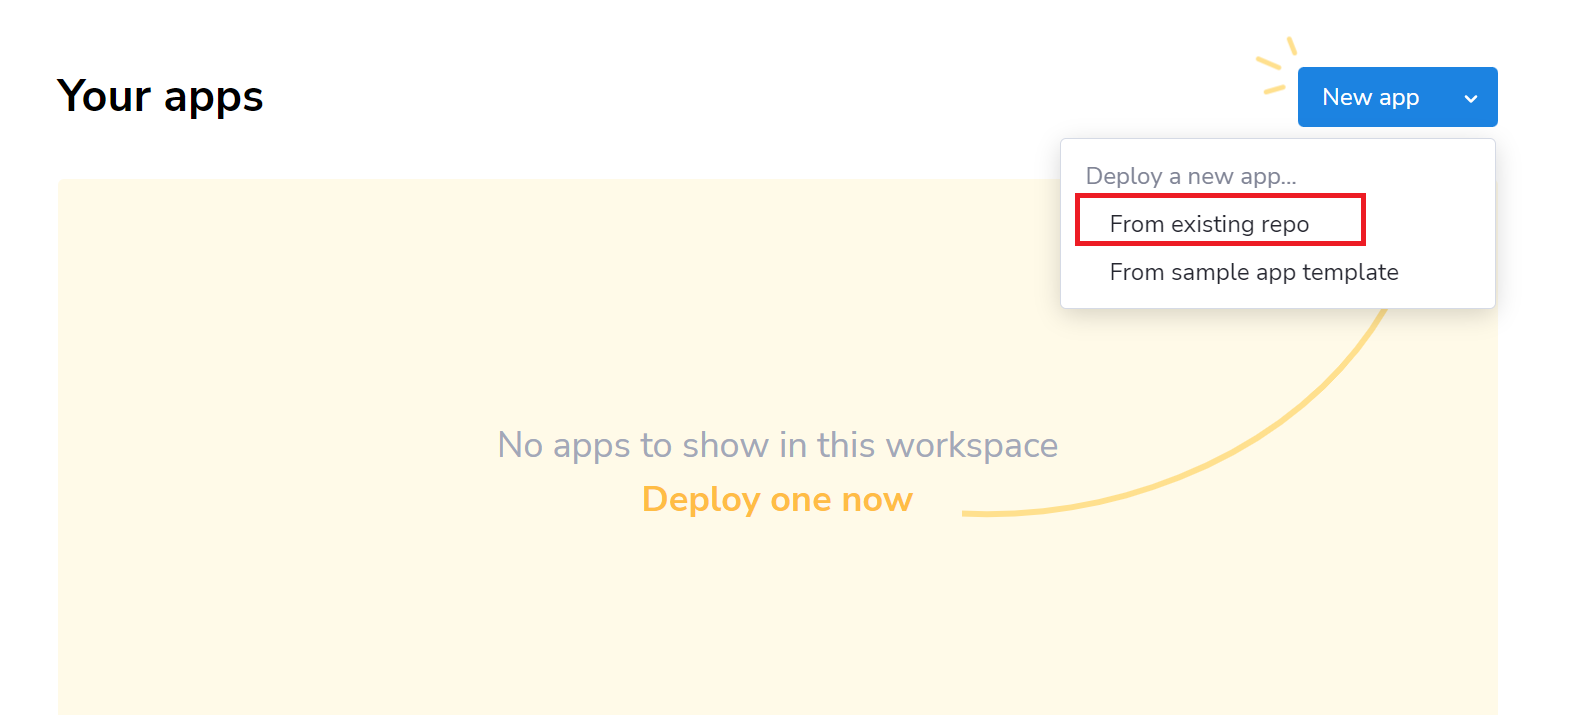
「From existing repo」を選択します。
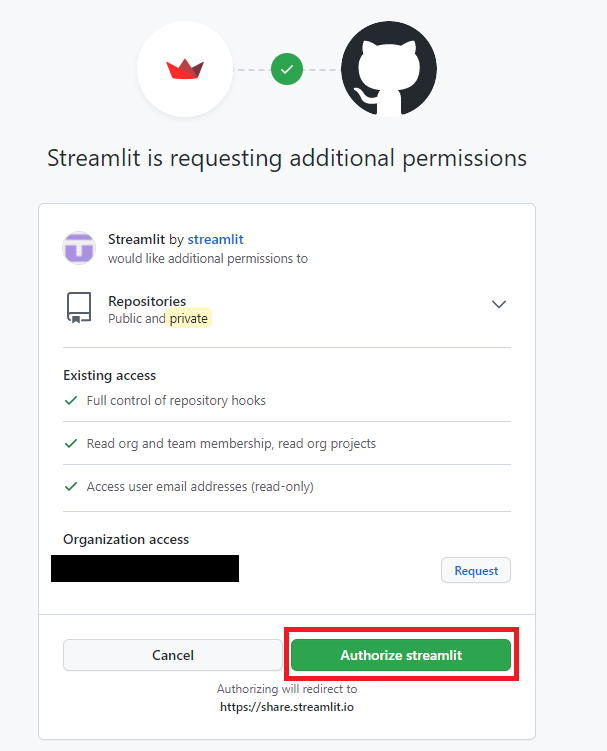
「Authorize streamlit」を選択します。
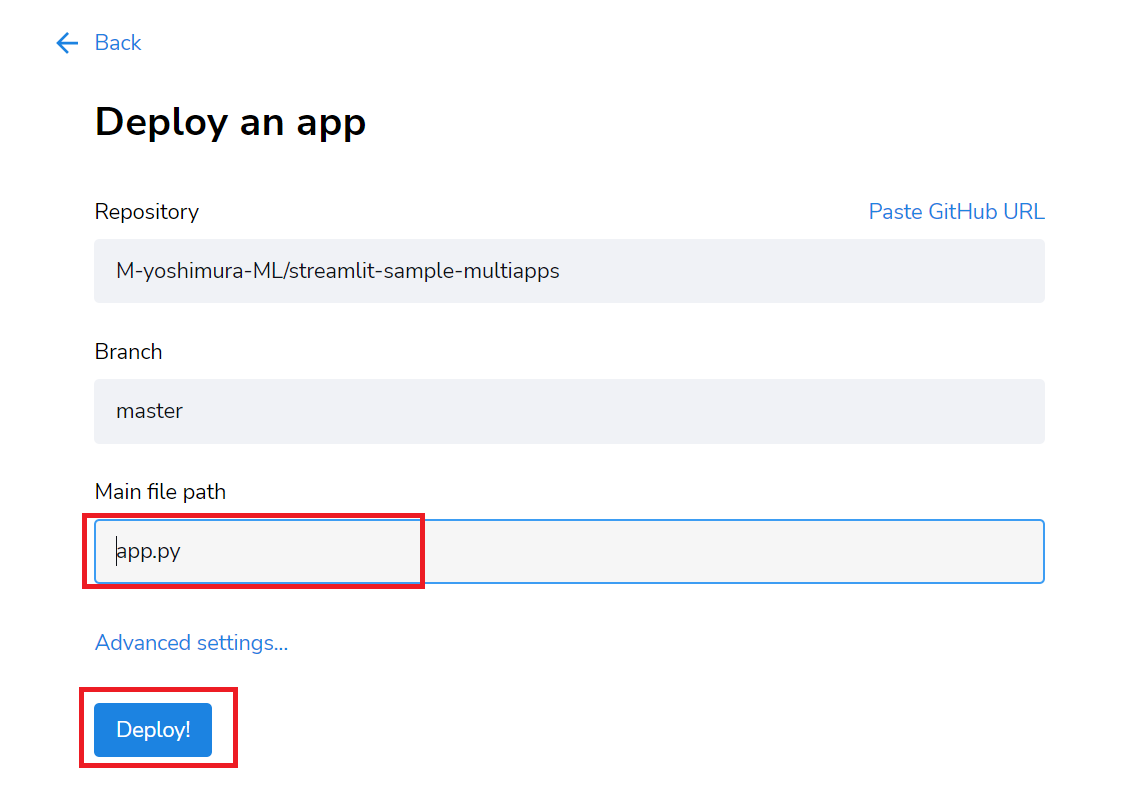
Main fileでは、最初に起動させたいファイルを選択します。
「Deploy!」をクリックします。
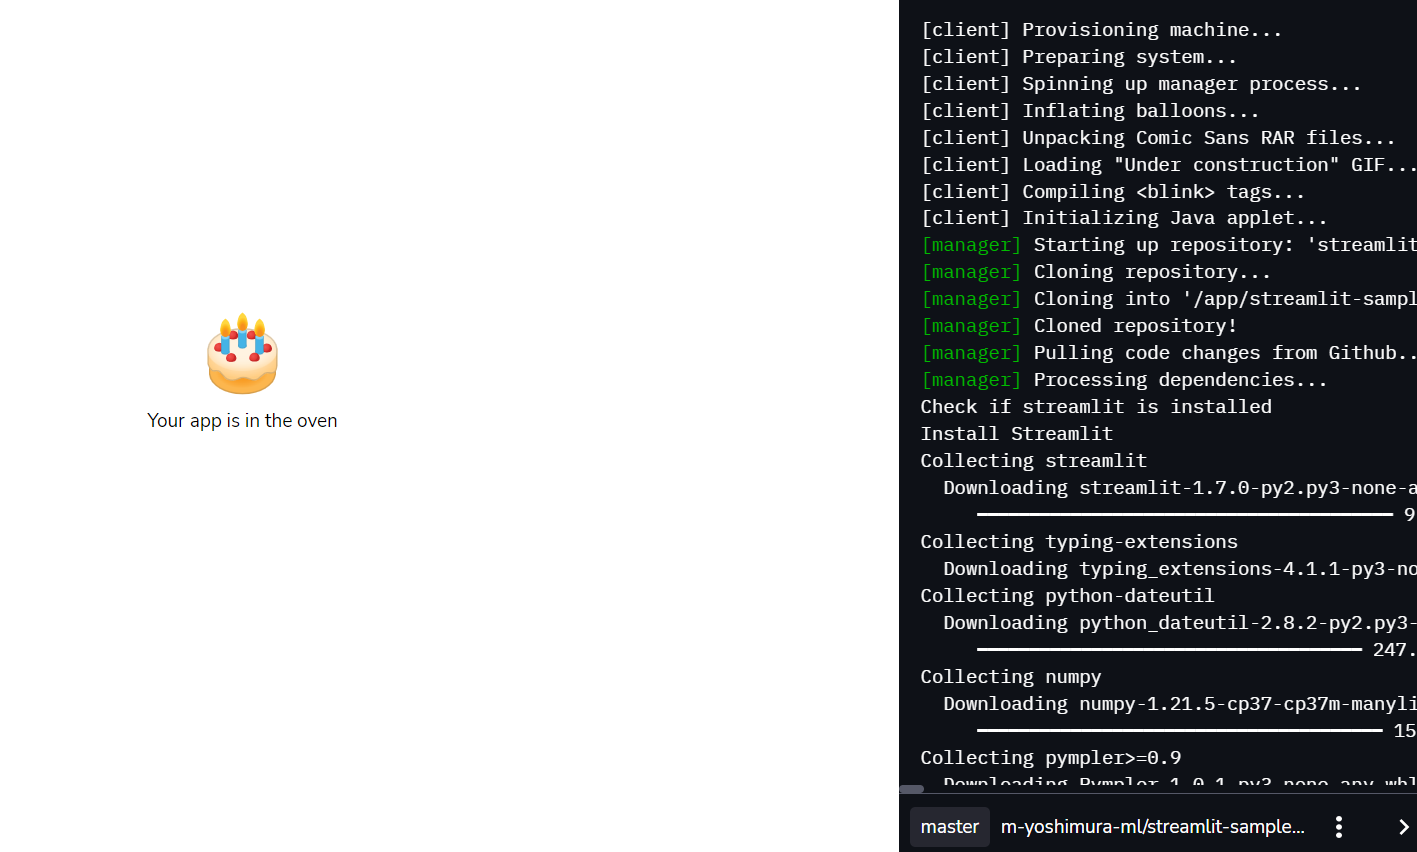
しばらく待ちます。

ローカル環境で確認した画面と同じ画面が表示されれば、デプロイ完了です。
以下の記事では、StreamlitからWeb APIを呼び出して、また実際にStreamlit sharingに公開して動作確認をしています。(本記事の発展版になります)


