


始めに
・Vue.jsを使って簡単なWebアプリ(掲示板)を作成します。
・Firebaseを利用してhttp通信を簡単にできることを理解します。
・axiosを使ってフロントエンドからサーバ側へアクセスできることを理解します。

参考講座
超Vue.js 2 完全パック (Vue Router, Vuex含む)
axiosとは
javascript からhttp通信する(ajaxライブラリ)
https://github.com/axios/axios
※npmは事前にインストール済み
Vue CLIがインストールされていない場合、以下をcmd/terminal上で実行。
vuejsのプロジェクトフォルダの作成(project-name はフォルダ名になります。)
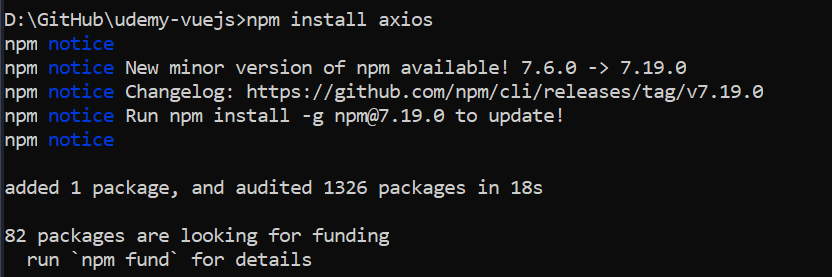
axiosのインストール
掲示板の画面を作成する
src/App.vue
※元々welcomeページに表示されていた内容を全て消す。
<template>
<div id="app">
 <h3>掲示板に投稿する</h3>
 <label for="name">ニックネーム</label>
 <input id="name" type="text" v-model="name">
 <br><br>
 <label for="comment">コメント</label>
 <textarea id="comment" v-model="comment"></textarea>
<div>
</template>

<style>
#app {
font-family: Avenir, Helvetica, Arial, sans-serif;
-webkit-font-smoothing: antialiased;
-moz-osx-font-smoothing: grayscale;
text-align: center;
color: #2c3e50;
margin-top: 60px;
}
</style>
http://localhost:8080/

以下のような<script>タグを追加します。
<script>
export default {
 data(){
  return{
   name:"",
   comment:""
  }
 }
}
</script>
Firebaseを利用する
https://firebase.google.com/?hl=ja
バックエンドの基礎的なもの簡単に作れます。
firebase(google)にログインします。
「右上のコンソール」へ移動をクリック。

プロジェクトを作成をクリック。
プロジェクト名をつけます。

firebase-project-name
google analyticsを使うかどうか聞かれる。

google analyticsは今回使わないので、有効のところのチェックを外して、プロジェクトを作成します。

完了⇒続行

「すべてのfirebase機能を表示」をクリック

Cloud Firestore をクリック

Cloud Firestore 上の「データベースの作成」をクリック

今回はテストモードを選択。
※本番環境では、データが公開されてしまうため、テストモードを使用しない。

作成されるまで、待ちます。
終わると以下のような画面が表示されます。

firebase側の準備はこれで完了。
postメソッドを利用して、データを送信する。
フォーム側でaxiosを利用して、サーバー側にデータを送る処理を用意する。
axiosのpostメソッドを使うことによって、データをサーバー側へ送ることができます。
3つの引数を指定することができます。
今回は、2つ指定(どこに送るかURL、送りたいデータ)
https://firebase.google.com/docs/firestore/use-rest-api
※URLの指定の仕方はここを参考にする。
sample
https://firestore.googleapis.com/v1/projects/YOUR_PROJECT_ID/databases/(default)/documents/cities/LA
プロジェクトIDの確認方法
設定→「プロジェクトを設定」をクリック
YOUR_PROJECT_IDを「プロジェクトID」に変更します。
またcities/LA の部分をcomments に変更します。
 <button @click="createComment">コメントをサーバーに送る</button>
<h2>掲示板</h2>
</div>
</template>

<script>
import axios from "axios";
export default {
 data(){
  return{
   name:"",
   comment:""
  };
 },
 methods:{
  createComment(){
   axios.post("https://firestore.googleapis.com/v1/projects/YOUR_PROJECT_ID/databases/(default)/documents/comments",
    {
     fields:{
      name: {
       stringValue: this.name
      },
      comment:{
       stringValue: this.comment
      }
     }
   }).then(response => {
      console.log(response);
   }).catch(error => {
      console.log(error);
   });
    this.name="";
    this.comment="";
  }
 }
}
</script>
コメントを送信するようのボタンとそのメソッドcreateCommentを<script>タグ内に記載しています。
axios.postの第二引数の部分fields内に送りたいデータ(name, comment)を記載しています。firebase利用する場合、データの型(stringValue)を指定する必要があります。
コンソール上で確認すると以下のようになります。

コンソール上でnameとcommentの内容が表示され、ステータス200であることが確認できます。
Firestore Database をクリックします。
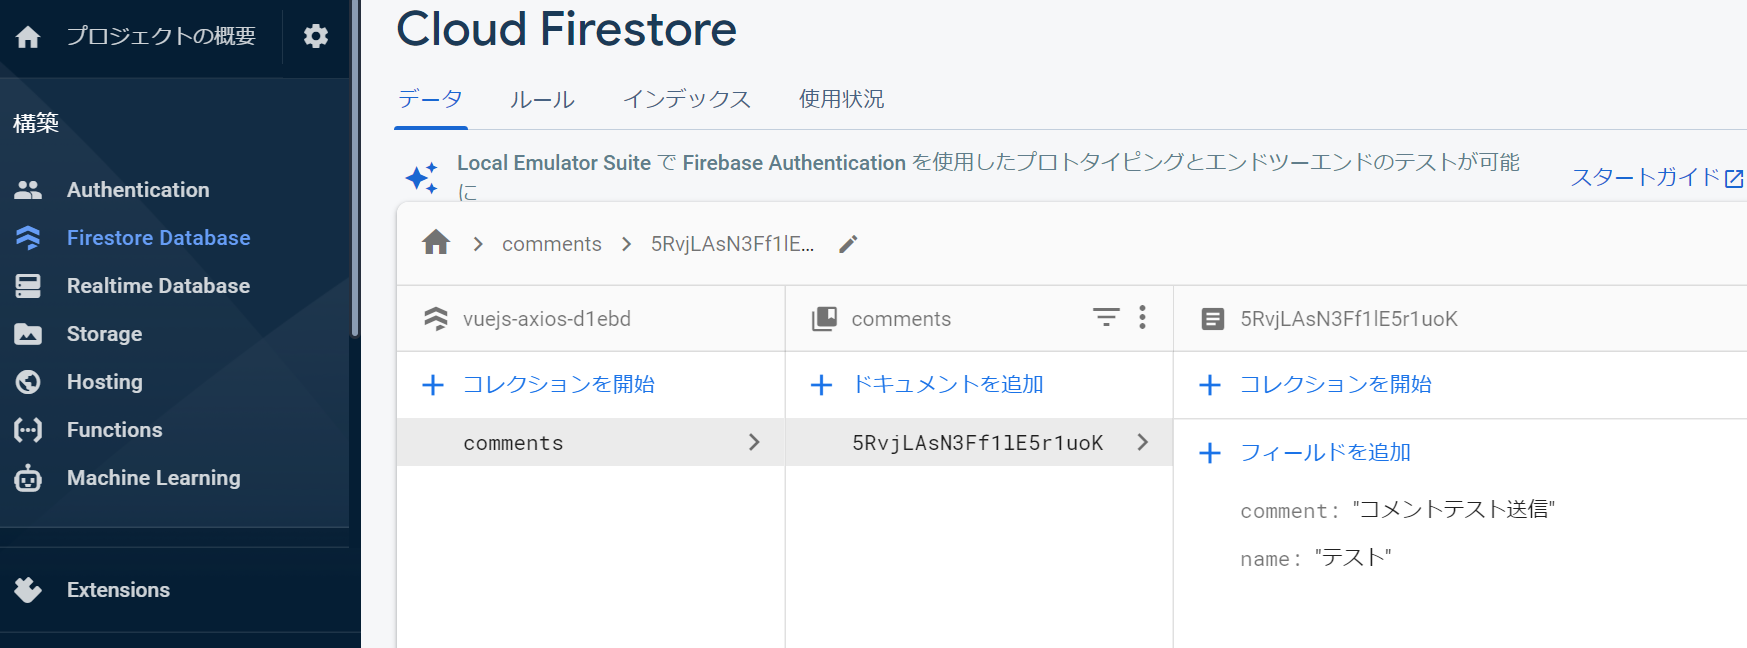
フォームから送信した内容が表示されていることがわかります。
Getメソッドを使用して、送信したデータを取得する。
第一引数は取得したいサーバーのURL、第二引数はそのリクエストの設定。
取得したデータはどこにあるのか、
getメソッドもpostメソッド同様にpromise(プロミス)を返す。
 },
created(){
 axios.get(
  "https://firestore.googleapis.com/v1/projects/YOUR_PROJECT_ID/databases/(default)/documents/comments"
 ).then(response=>{
  console.log(response);
 });
},
methods:{
created()を追加して、その中にaxios.getを記載します。
ブラウザをリロードして、コンソールを表示します。

documents に 0と1があり、その中を見ると、それぞれコメントが表示されていることがわかります。
これを配列posts[]に返却することで、画面上に名前とコメントを表示できるようにします。
 <h2>掲示板</h2>
 <div v-for="post in posts" :key="post.name">
  <br>
  <div>名前:{{post.fields.name.stringValue}}</div>
  <div>コメント:{{post.fields.comment.stringValue}}</div>
 </div>
</div>
</template>

<script>
import axios from "axios";
export default {
 data(){
  return{
   name:"",
   comment:"",
   posts:[]
  };
 },
 created(){
  axios.get(
   "https://firestore.googleapis.com/v1/projects/YOUR_PROJECT_ID/databases/(default)/documents/comments"
  ).then(response=>{
   this.posts = response.data.documents;
   console.log(response.data.documents);
  });
 },
投稿した内容が、画面に表示されるように「掲示板」の下に<div v-for”post in posts” :key=”post.name”>タグを追加しています。
ブラウザを再度リロードします。

名前とコメントが2つ表示することができました。
今回はこれで以上となります。